How to Tie a Falconer's Knot and Other Essential Falconry Knots
Every falconer remembers the moment a knot let go. Perhaps it was a jess slipping off the perch in the weathering yard, or a leash working loose just as the hawk bated. Raptors are unforgiving of sloppy rope work. A knot that holds under a gentle tug but spills when a bird lunges is worse than useless — it teaches false confidence. The knots below are the ones you will tie most often, and the falconer's knot sits at the centre of them all.
Why Knots Matter More Than You Think
Falconry equipment is a chain, and knots are the links. Swivels, jesses, leashes and perches only work as a system, and the rope joins are the parts you control. Knots in falconry do three jobs at once: they secure a bird safely, they release quickly when you need them to, and they absorb punishment from weather, grit and constant flexing.
Two principles guide everything that follows. First, a knot should be simple enough to tie in poor light with cold hands. Second, it should be easy to check at a glance. If you cannot tell whether a knot is properly set, it is the wrong knot for that job.
The Falconer's Knot: Step by Step
The falconer's knot is a slipped hitch used to secure a leash or cord to a perch, a ring or a bow perch. It grips firmly under load but comes apart with a single pull on the tail — exactly what you want when a hawk is on the fist and you need one hand free.
Work with a braided cord, ideally 6–8 mm hemp, cotton or a modern synthetic, and leave a generous tail. Then follow these steps:
- Pass the working end of the cord around the perch or through the ring, from the front to the back.
- Bring the working end across the standing part to form a loop, keeping the loop open and tidy.
- Wrap the working end around the standing part once more, so it crosses over the first turn.
- Bring the working end back towards the loop and fold a bight — a doubled loop — into it.
- Tuck that bight through the loop you formed in step two.
- Pull the standing part to draw the turns tight, then tug the bight to seat it snugly against the perch.
To release, pull the tail. The bight slips back through and the whole knot falls apart. Test it every time: hang a modest weight on the standing part, then pull the tail. If it does not release cleanly, undo it and start again. With practice the knot takes a few seconds, and most falconers tie it without looking.
One refinement worth learning: on a bow perch, take the first turn so the knot sits on the outside of the bow, away from the bird's feet. That keeps the bird from worrying at the tail and gives you a clearer pull when you need to release.
The Leash Knot and the Jess Knot
The leash knot is the fixed loop that attaches the leash to the swivel. A bowline is the usual choice here, because it forms a loop that will not tighten under load and cannot jam. Lay the working end over the standing part to make a small loop, bring the working end up through the loop, around behind the standing part, then back down through the loop. Tighten and check the loop size before you dress the knot — once set, a bowline is reluctant to budge.
The jess knot is a smaller version of the same idea, tied in the leather itself. Some falconers prefer a simple scaffold knot for jesses, which grips the leather without slipping and stays neat under the swivel.
Two habits keep these knots safe:
- Keep loops small. A large loop catches on branches, perch fittings and glove straps.
- Trim and seal the tail. Cut close, then melt or whip the end so it cannot fray back through the knot.
Quick-Release Knots for Daily Handling
Falconry has no reliable single "quick-release knot" — the falconer's knot itself is a slipped hitch that releases under tension. What matters is choosing the right release for the job.
On a creance, use the falconer's knot or a slipped half-hitch at the anchor point. Both come free with one pull if the line snags. On the swivel, a proper swivel fitting does the releasing work for you; the swivel also prevents the leash from twisting into a knot of its own. When tethering to a ring, a slipped bight through the ring, finished with a falconer's knot, gives you the security of a hitch with the speed of a slip.
Whatever you use, the release must be within reach when the bird is on the fist. If your only free hand is holding the hawk, a knot you cannot reach is a knot you cannot trust.
Common Mistakes to Avoid
Most failures come down to a handful of errors. Tying too tight crushes the cord and shortens its life. Tying too loose lets the knot creep and spill under movement. Using the wrong cord matters too: a slick synthetic tied in a hitch that suits hemp will slip, and thin cord bites into hands and perches alike.
Dressing the knot — settling each turn neatly before tightening — is the difference between a knot that holds and one that merely looks tied. Then load it. A knot tested under tension is proof; a knot tested by eye is hope.
Maintenance and Inspection
Check your knots every time you handle the bird, and give cord a proper inspection at least once a week. Look for fraying, stiffness, flattened sections and grit worked into the braid, and check the tail for wear where it passes through the knot. Replace cord that has lost its body — a frayed tail is a fuse waiting to burn through. Store leashes and jesses loosely coiled, away from damp and direct sun, and keep spares cut and sealed in your bag so a failure in the field takes seconds to fix, not a journey home.
Good knot craft is quiet, unglamorous and entirely worth the effort. Learn the falconer's knot until your hands know it, keep your loops small, test every join, and your hawk will stay where it belongs.
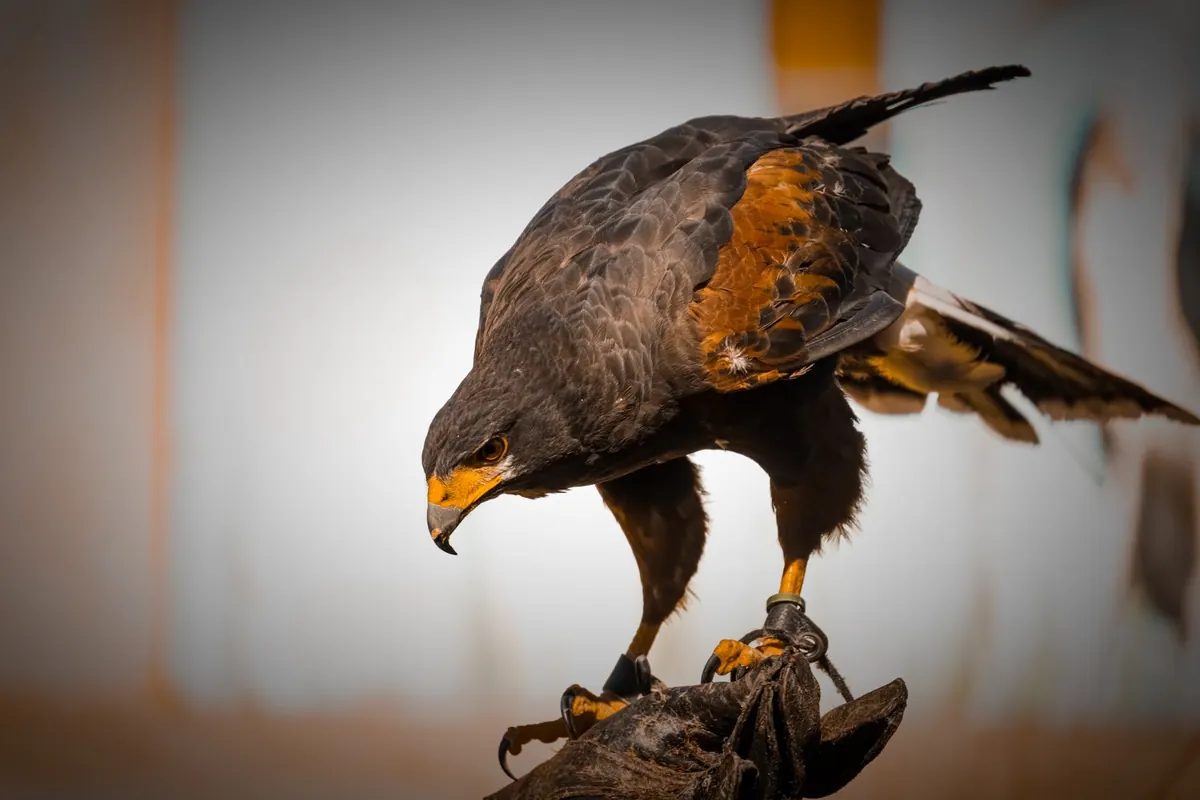
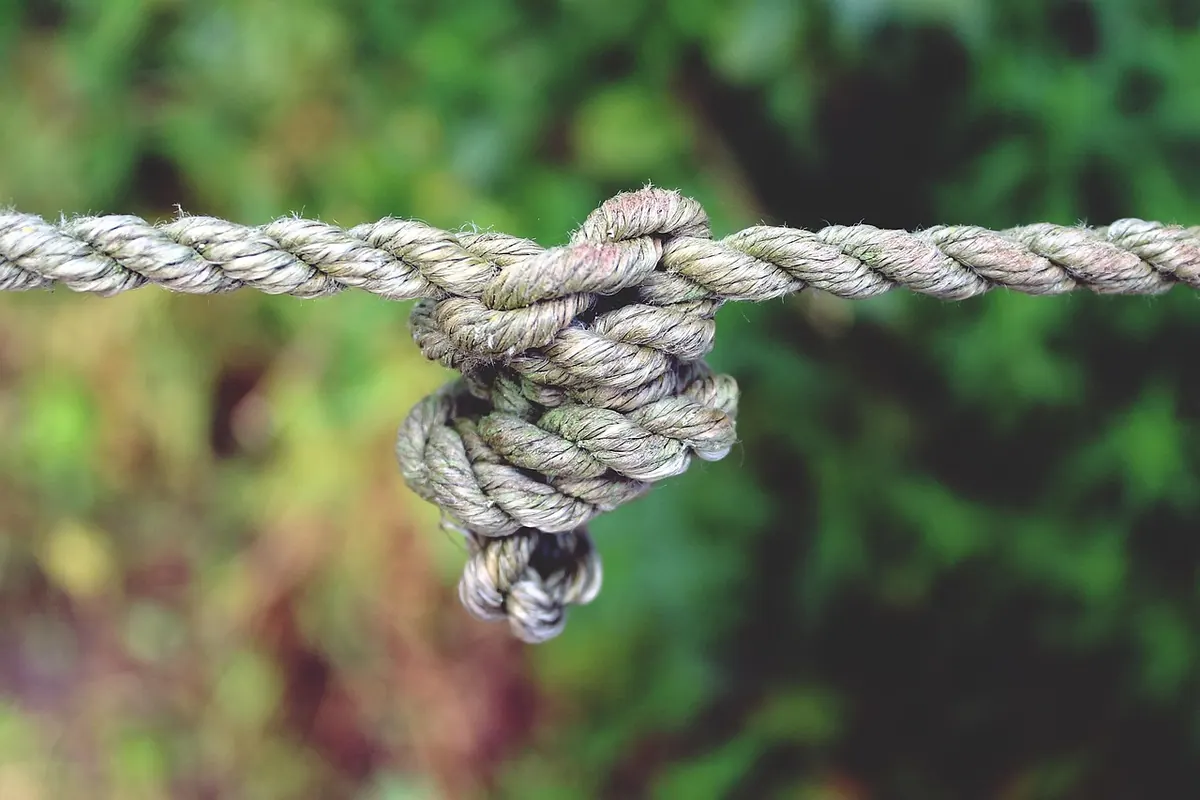
Photo: TanteTati / Pixabay
You Might Also Like
A practical first aid checklist for falconers — controlling bleeding, supporting suspected fractures, and dealing with heat stress, poisoning and shock before you reach an avian vet.
Practical ways UK falconers can back raptor conservation — joining survey and nest-box projects, breeding responsibly, improving habitat and keeping records that stand up.